
Time to catch up on sharing my doings in the studio since last May! At year’s end, I usually try to take note of how the year has gone, what has gone on as well as off in the studio. Not gonna lie – there was no Magnum Opus: instead, much lurching from project to project, sustained in wobbly up-and-down fashion by pious resolve to carry out faithfully The Duty Of The Moment concerning the making of botanical inks…
I did a lot of Zooms and Face Times, didn’t you? Study zooms, socializing zooms, family meet up zooms…I did three presentations on Zoom on the subject of how I make botanical inks, basically summarizing my journey to that point…but the majority of the time on zoom I was an attendee not a presenter …and I cannot make it through any meeting without doodling. So I spread my studio drop cloth on the dining room table, installed the computer, the inks, the pens etc and made marks…


The natural ink collection is made from a relatively small number of plants that I either grow in my garden or forage locally. I do have some natural dye powders that “come from away” but so far, with the exception of indigo indigofera ( see photo above), I do not use these for making ink. ( I have tried growing indigo in pots with varied success)
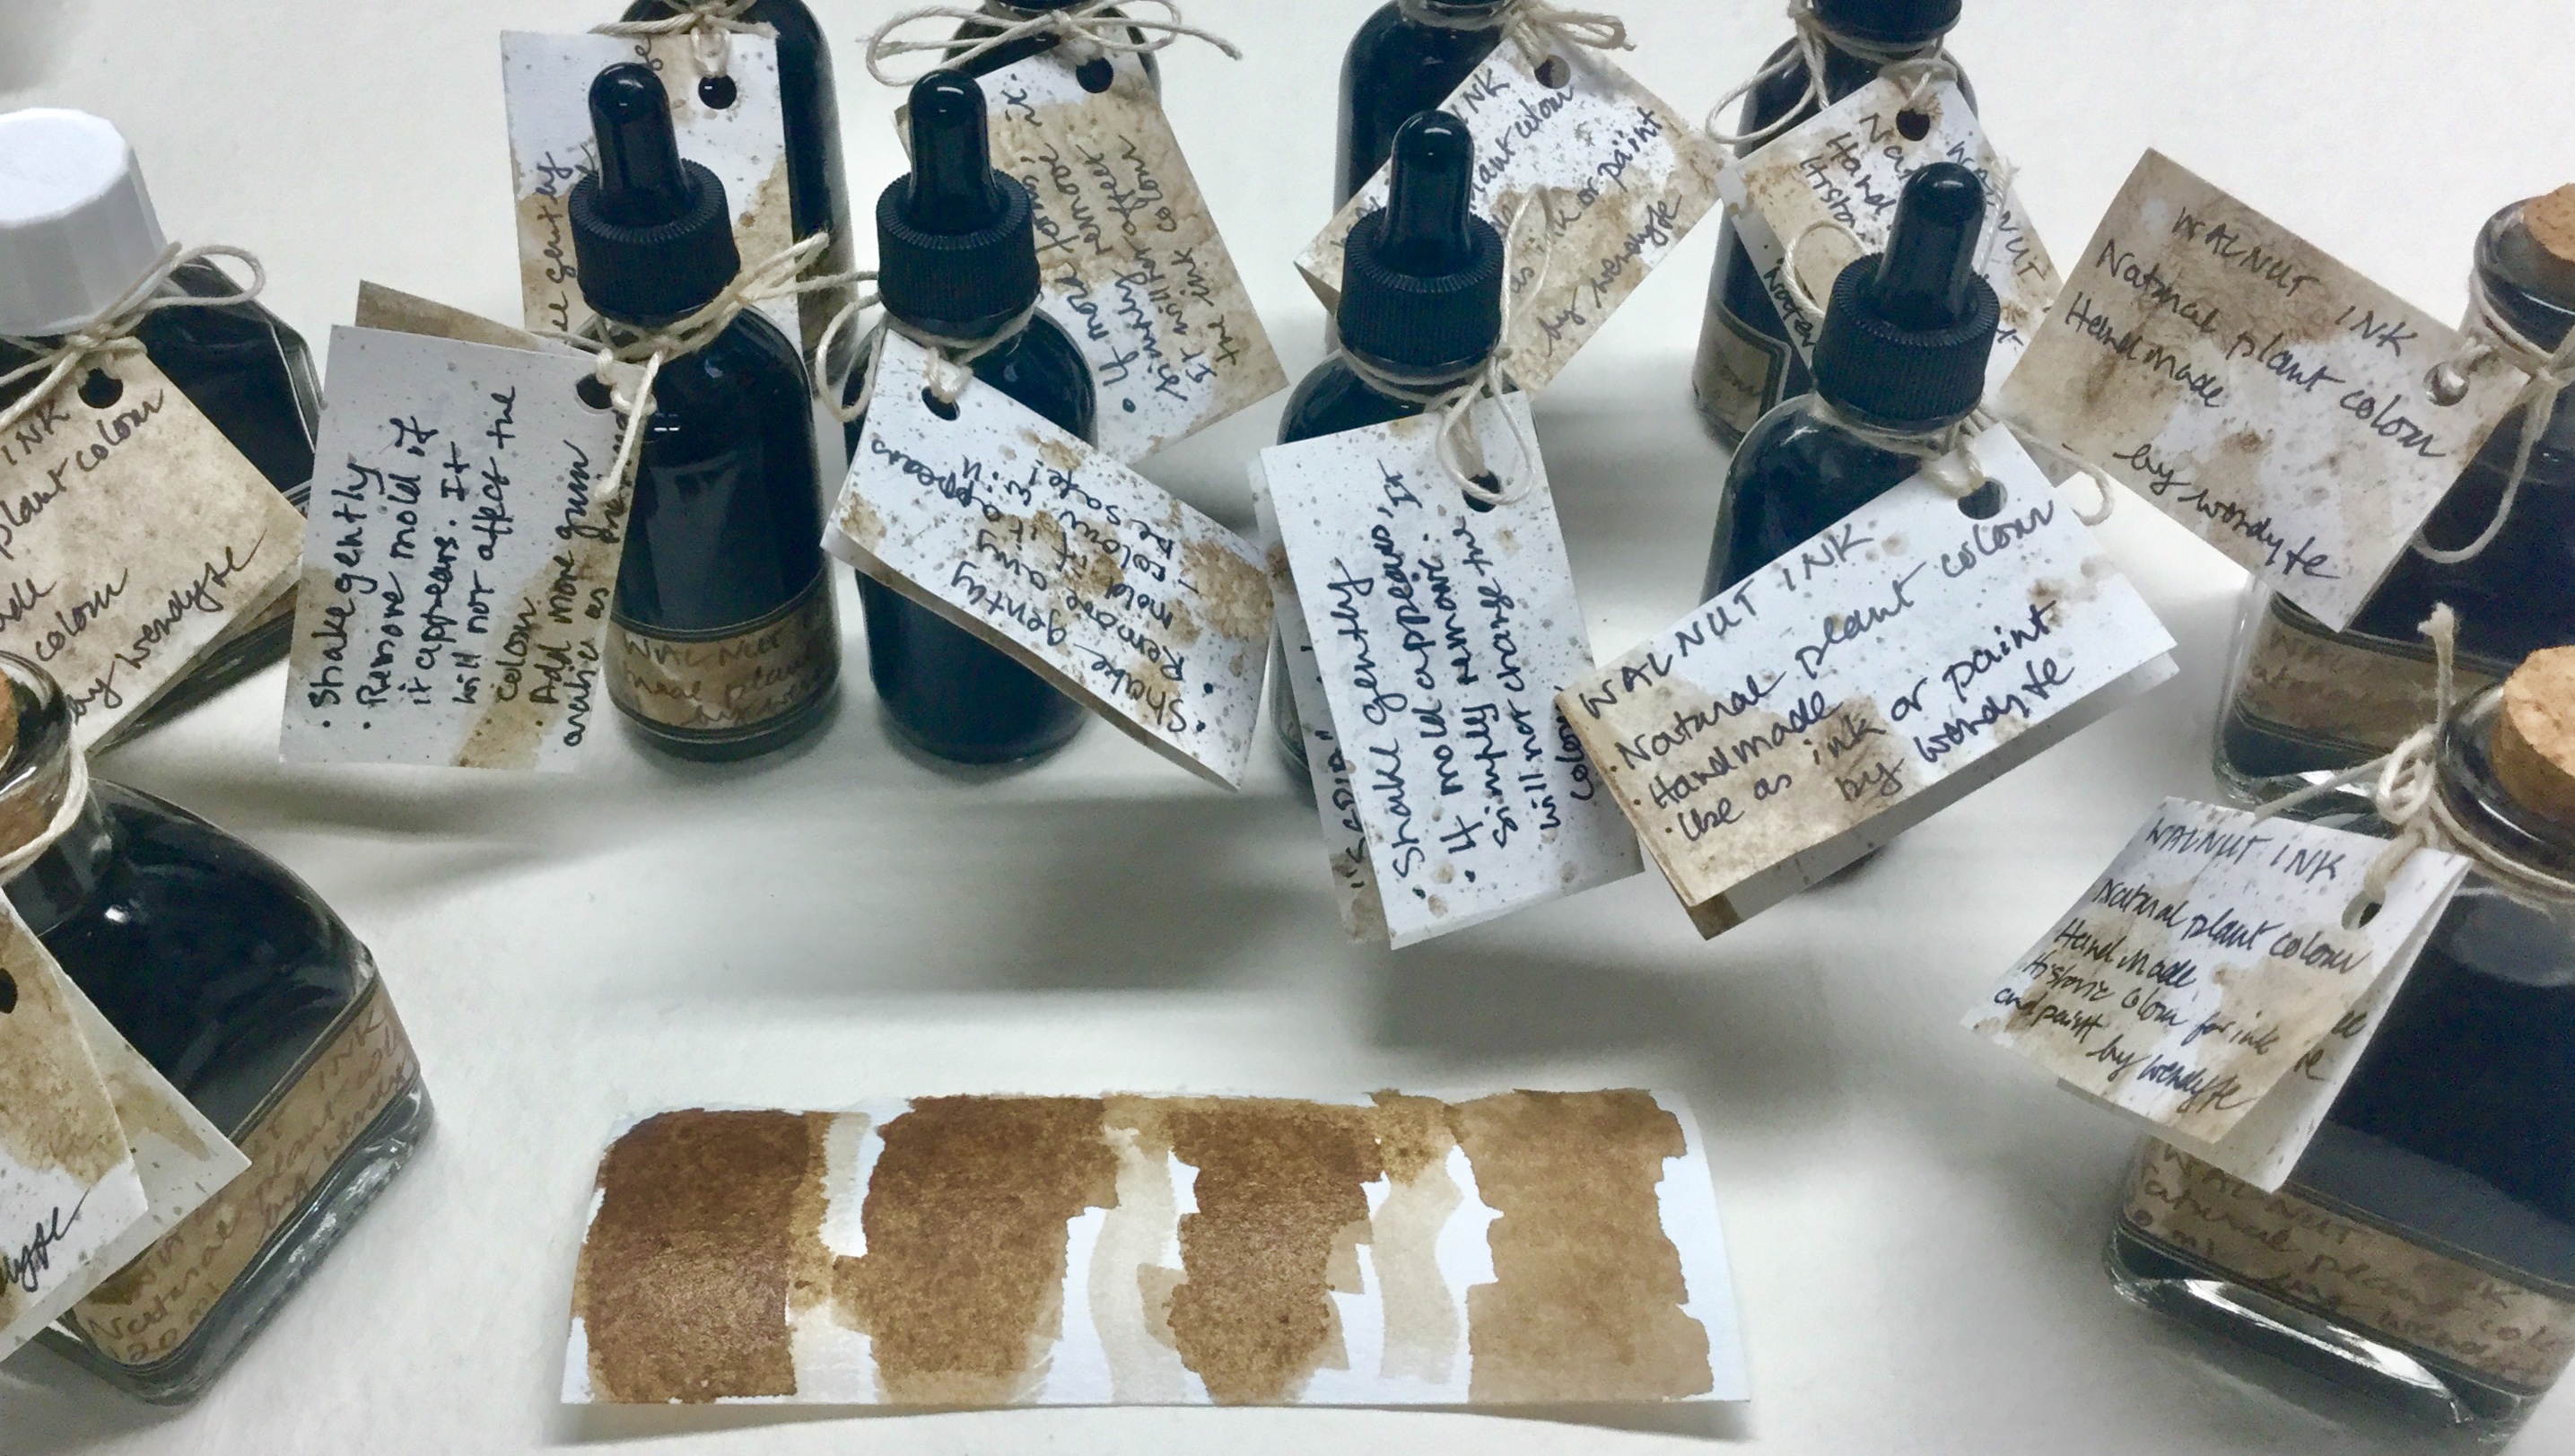
These inks are dye based and thus are pH reactive; this means that they can change colour or shade depending on the substrate they are applied to, or on the modifier used to alter their colour intentionally ( as in classic natural dye practice). Swatching natural inks is an adventure!


In between making inks and Zoom presentations on the whats and the how-to’s, I contributed a chapter on basic eco printing for a book on natural dyes published in September 2021 by Long Thread Media in the U.S. It was honour for me to be among these most-respected contributors to the field.

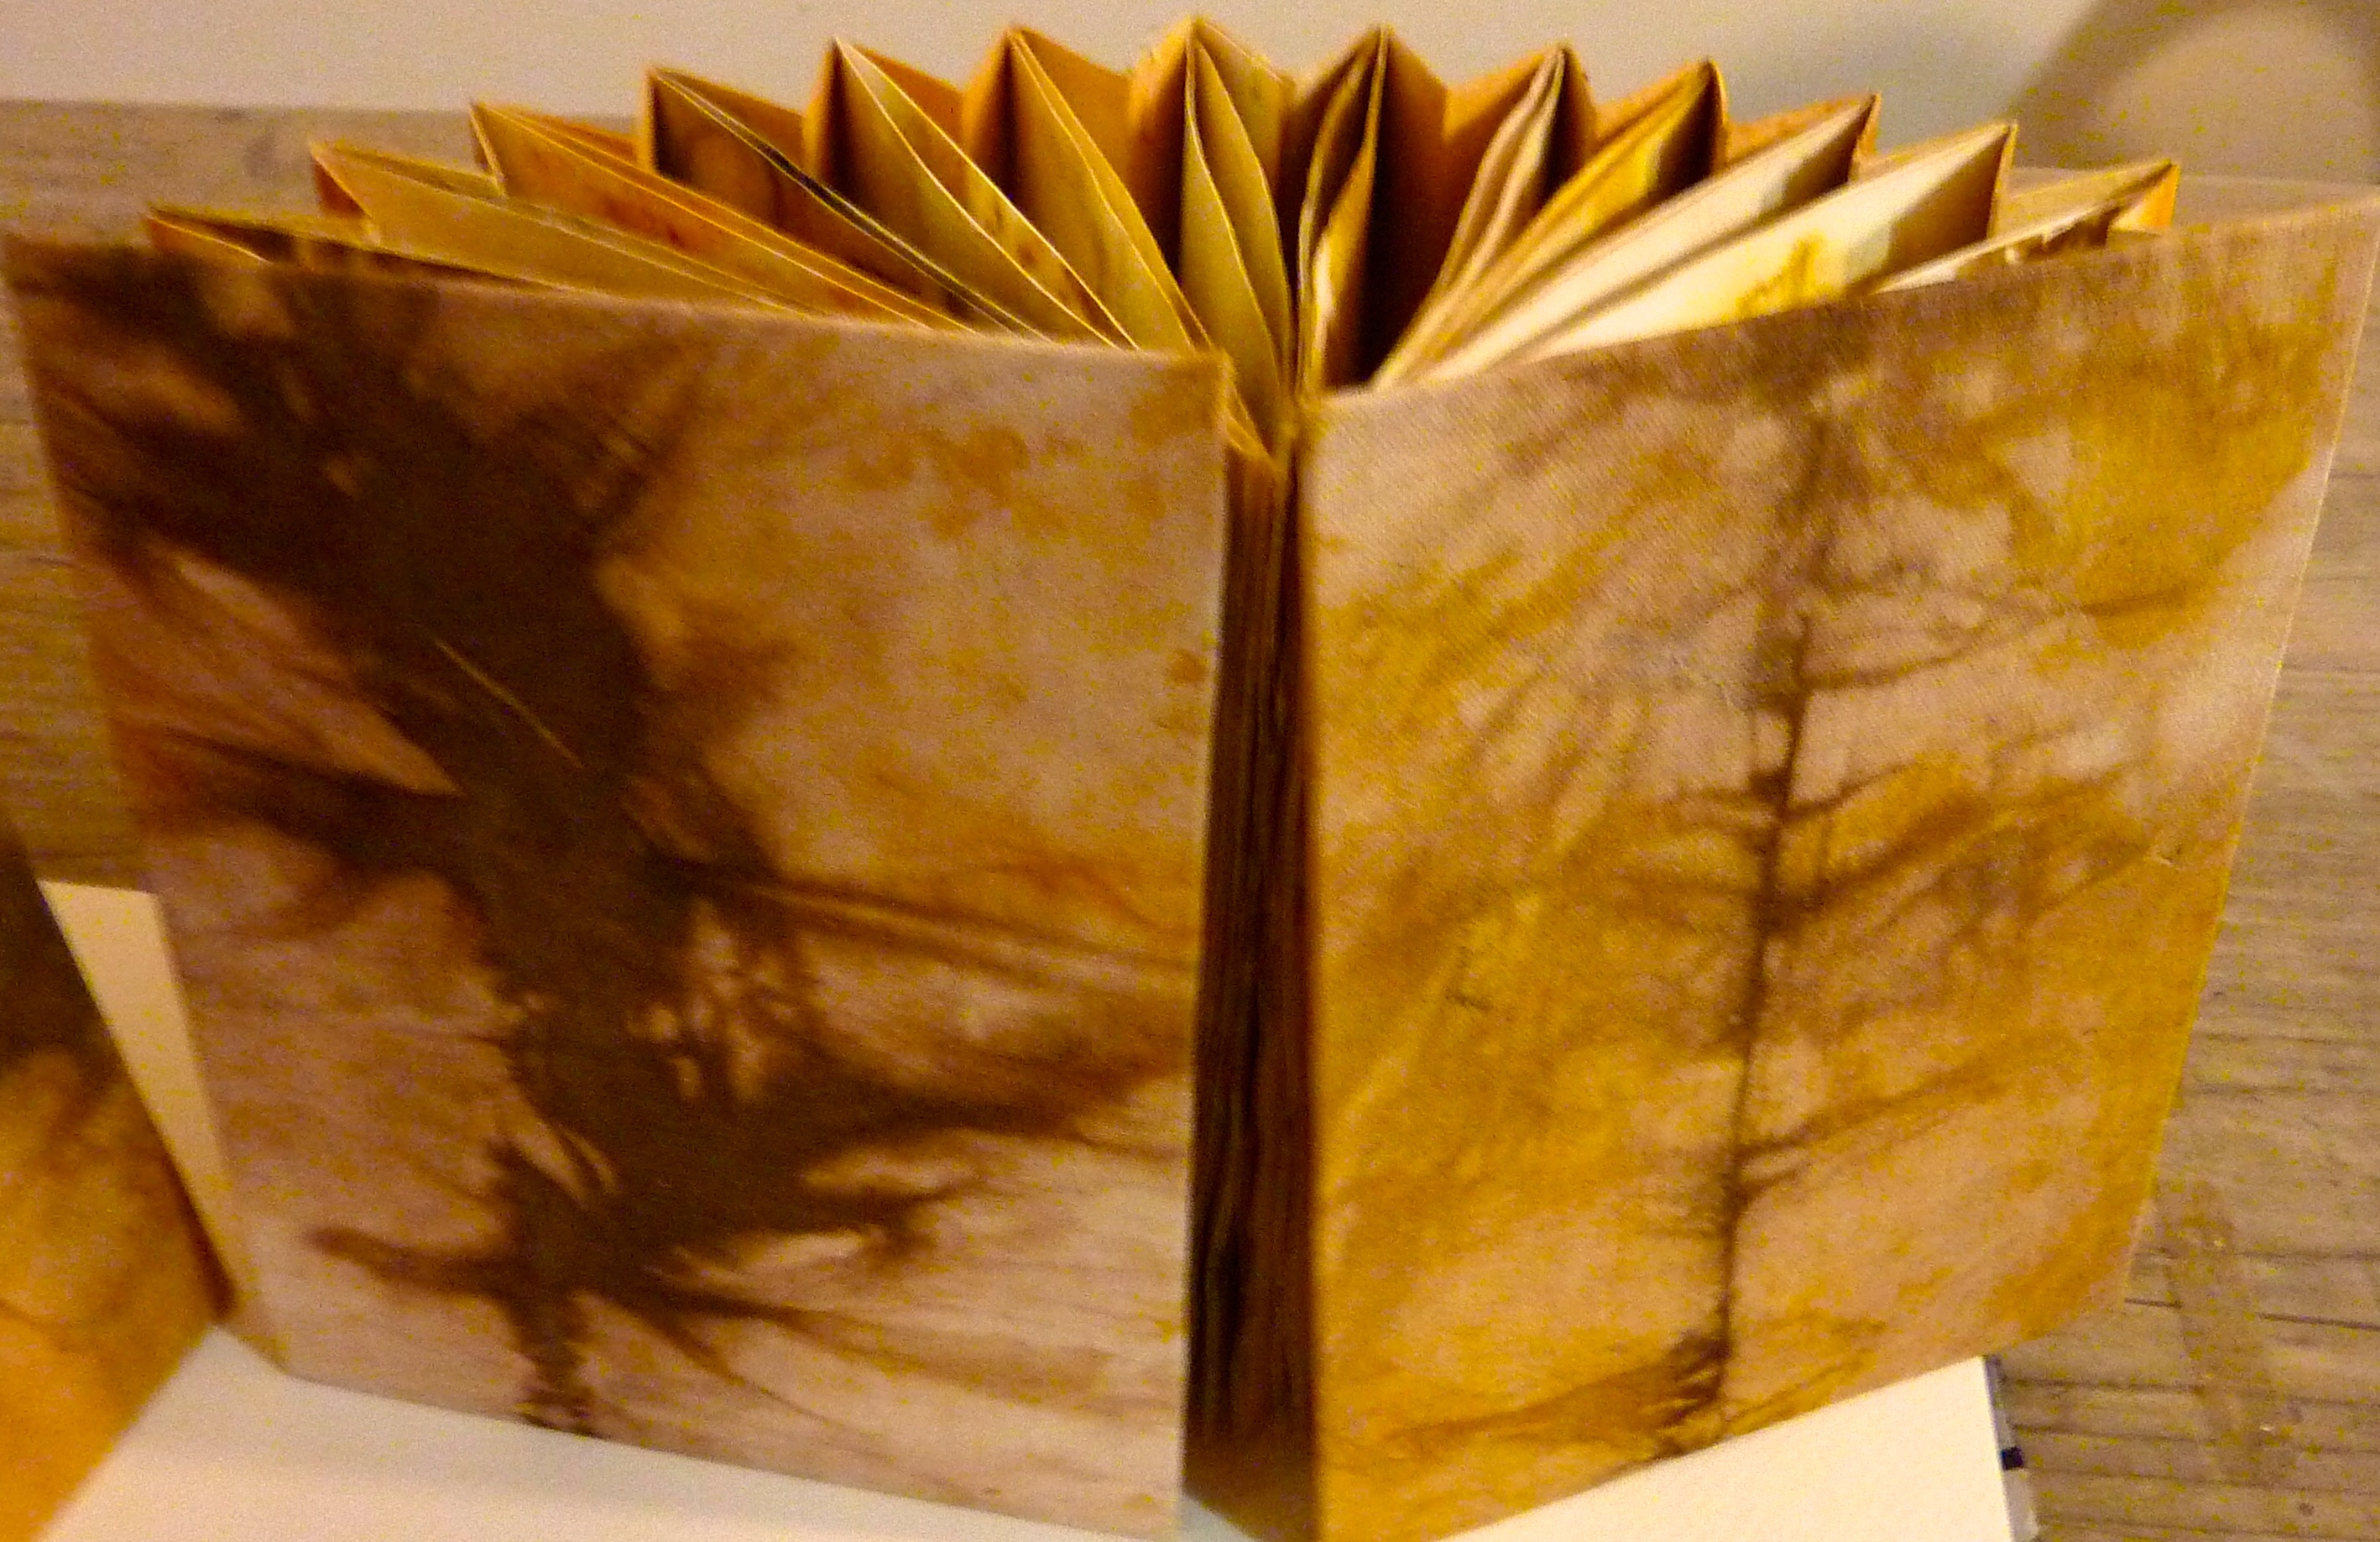
Later in the year, my annual art studio tour took place over two weekends. It was a real joy to meet up with visitors to the studio, even if we were masked and socially-distanced. It was great to put on display, along with my inks and ink paintings, some of my printed and embroidered textiles and my Artist Books.


After the studio tour, I began to forage for fall ink botanicals, especially wild grapes ( for purples, pinks and blues), ripe buckthorn berries ( for greens) and street-planter, frost-bitten marigolds for yellows and maybe oranges, TBD.
I will end this post with some pics of the marigold project and as precursor to my next post in December 2021 to wrap up the year’s doings. I am making lakes with the marigolds: i.e., turning the water soluble marigold dye into solid cakes for use as watercolours, the full report on that will be next time. Meantime, a few advance pics to show something of the laking process:


And the last photo for this post is of the finger-painted swatch I did this week of some of the inks made in 2021, testing them for colour at year’s end.
A la prochaine! A blessed Advent meanwhile

Wendy


 Here are some more pics of the ink collection so far: the light yellow is what the Osage looks like when swatched before cooking.


