Walnuts Continued


It’s finally time to get to that benignly-neglected walnut stash that has been fermenting in a dark cupboard in my studio since the summer of 2015.

At Canadian Thanksgiving in early October, I posted a few photos here of a quick dye/ink made with a few freshly foraged green walnuts that obliged by producing the above-pictured measure of dye.

I learned from my research, however, that the best walnut colours in terms of fastness  can be had from walnuts that have soaked for a year, water-covered, in wooden casks. Now my green walnuts had been soaking for three years in big glass jars, so neither extra tannins ( from the wood) nor oxygen (which is believed to optimize the dye characteristics) entered the glass jar as happens with wood casks.  One might expect bad smells and molds after all that time, too, but there were none of either. My three-year walnut liquid had simply  become a thick dark brown potage smelling slightly of the fall forest. I wonder if fermentation prevents the mold that walnut ink is reputed to harbour? Time will tell.

To make this batch of  walnut colour, I put half a potful of the mushy brown ferment (along with the still-hard nuts in their shells) in the slow cooker, covered the sludge with water and heated this for an hour or so at  80 – 90 C. After straining and filtering the liquid, I cooked it down by half until it was sort of a bit syrupy. The dye looks like this on watercolour paper:

The dye liquid, cooked down, was then put into wee bottles ( with some gum arabic added to ink it up) and  finished with walnut-dyed tags and labels:

Off to the craft fair next weekend in Chelsea, Quebec! And taking some buckthorn ink along, too:

Next ink colour to try is wild grape, waiting its turn in the stash, Might even have some ready to go with the walnut and buckthorn for next weekend! Naturally, the ink so-obtained can work as paint, also;  you can even add some other binder – an acrylic glazing liquid might be nice.

A la prochaine, mes amis/amies

Bye bye, buckthorn berries

Buckthorn hedge with fall berries

No more buckthorn berries left now in mid November for making the historic paint colour, Sap Green.  I collected about four cups/ one litre of them a month ago and have been posting the results of my colour search here. Today I am wrapping up the basic buckthorn work and providing a review of what I have learned from my experiments.

Juicy blue-black buckthorn berries which the Field Botanists of Ontario tell me on FB that the birds eat only when desperate , so to go ahead – please make paint and ink with them!

The Rhamnus cathartica ( Common buckthorn) is a despised shrub here in Ontario and , as in many North American zones, is classed as invasive. I normally try to work with native plants to obtain dye colours. I find I am guided by pragmatism as much as by principle -native plants take less gardening work, survive extremes of neglect and weather more easily and attract interesting and useful critters. Why buckthorn, then? Because of its long and fascinating history as a dye plant as a species here and in other parts of the world. 

For my research on the use of buckthorn for pigment, I have relied chiefly on the work of Dominique Cardon on natural dyes and of Daniel Thomspon on medieval painting. A delicious new book about making ink by Jason Logan rekindled my interest in buckthorn greens, and pointed me back to some of my previous work in similar areas, reported here: iris green ( also am historic colour) and walnut dyes/paints/inks. Enough background now. (Please check my references page and recent posts for full info). 

Here is what you might do to get buckthorn (“Sap”) green. Believe me, there are a lot of recipes out there so no need to swear by mine- I don’t! 

Here are two cups of ripe crushed berries in a one-litre/four cup slow cooker, heated to below boiling ( around 180) and cooked for an hour and a half or so, until the juice looks deep purple. My research turned up variations on whether to cook the berries or just squeeze the fresh uncooked juice. I tried both and found no difference in how the colour developed. Note also that to get a deep colour of green (a later step in the process), medieval recipes advised  cooking down the liquid by at least half…so clearly, buckthorn is heat tolerant, which was my concern. 

After the cooking step, time to strain the contents of the pot and then filter it. I used a wire colander for straining, then used a jelly bag for filtering the first time ( best to have more than one filtering session). I saved the residue for a second extraction as the old recipes advised. 

After transferring the purple liquid into clean glass jars, time to shift the pH  upwards  in order to trigger the formation of that coveted green. Some of the old recipes suggest using a combo of alum and soda ash. I used alum acetate alone, about one teaspoon/5 ml per cup /250 ml canning jar- or until the colour turns dark green before your eyes! Stir the jar a bit,   dissolve the alum in a tad of water, then add it. No need to be terribly exact. I figured if the alum did not work alone, I  could throw in the soda ash, too. It worked fine! 

I kept some purple liquid to use as is for its purple colour, then put aside a jarful of green liquid for further trickery. Natural dyers who are accustomed to working with modifiers such as ammonia, soda ash, iron, vinegar and copper sulphate will enjoy messing with the dye chemistry at this point.  I did a little of that but my main goal was green and maybe a bit of yellow-green ( with soda ash as modifier) 

Buckthorn green modified soda ash (yellows) and splashed with lemon juice (pink)

 Colour test strips

Green modified with soda ash for yellows;  splashed with lemon juice for pink
Greens splashed with lemon juice for pink
Greens light and dark with a tad of pink

These colour trials are on 140lb watercolour paper – different colours will show on other papers. On fabrics? I have not tried  the Sap Green on fabric yet but the ancient preference was to use silk for the easiest dye take up. 

I have to say that my mopping-up cloth ( a heavy canvas) looks pretty colour receptive, even without a mordant: 

Catching the green and yellow drips

The next step was to ” insissipate” the liquid – i.e., to concentrate its colour by either boiling it down to at least 50% of the original volume or by letting it evaporate to the same level. I boiled the dye down, having combined two batches of green dye liquid. ( Reminder: The berries can stand to be used for two extractions so do not chuck out the berries after the first straining. )

I filtered the boiled down liquid through three layers of cut up nylon pantyhose ( not thick ones) – in fact, I filtered the liquid also before  boiling it down. You can filter as many times as you think the sludgey bits in the liquid need it.

Greens bottled up

The test strips here show the colours before and after filtering the green liquid. The darker green contains thickish cooked plant residue, the ligher colour is after filtering. Because Sap Green is a relatively transparent colour, you need to paint more than one layer for a deeper shade. The green sludge in the liquid might please your inner texture seeker, though. 

As the photo shows, the green dye is now enrolled as an ink. To each one ounce bottle of liquid, I added 15 drops of gum arabic, one whole clove and for anti-mold overkill, one drop of very pungent tea tree oil ( used in soaps for Athlete’s Foot). 

So I think that is it for buckthorn basics for now.

I have in mind to try a dye blanket with buckthorn green over plants in an ecoprint adventure. And there is one more medieval technique to try and that is to make a “clothlet” as reservoir to hold the green colour ( I will not be using a pig’s bladder as artists did way back) …I have made ” clothlets” for iris green ( reported on this blog).  Thompson says Sap Green was also stored in clothlets. You know where I am going with this…

Next time: probably walnut ink! While I get my “clothlets” and dye carrier blankets sorted. 

Purples from basic buckthorn juice; greens from the purples juice modified with alum acetate

Making paint and ink with fall buckthorn berries

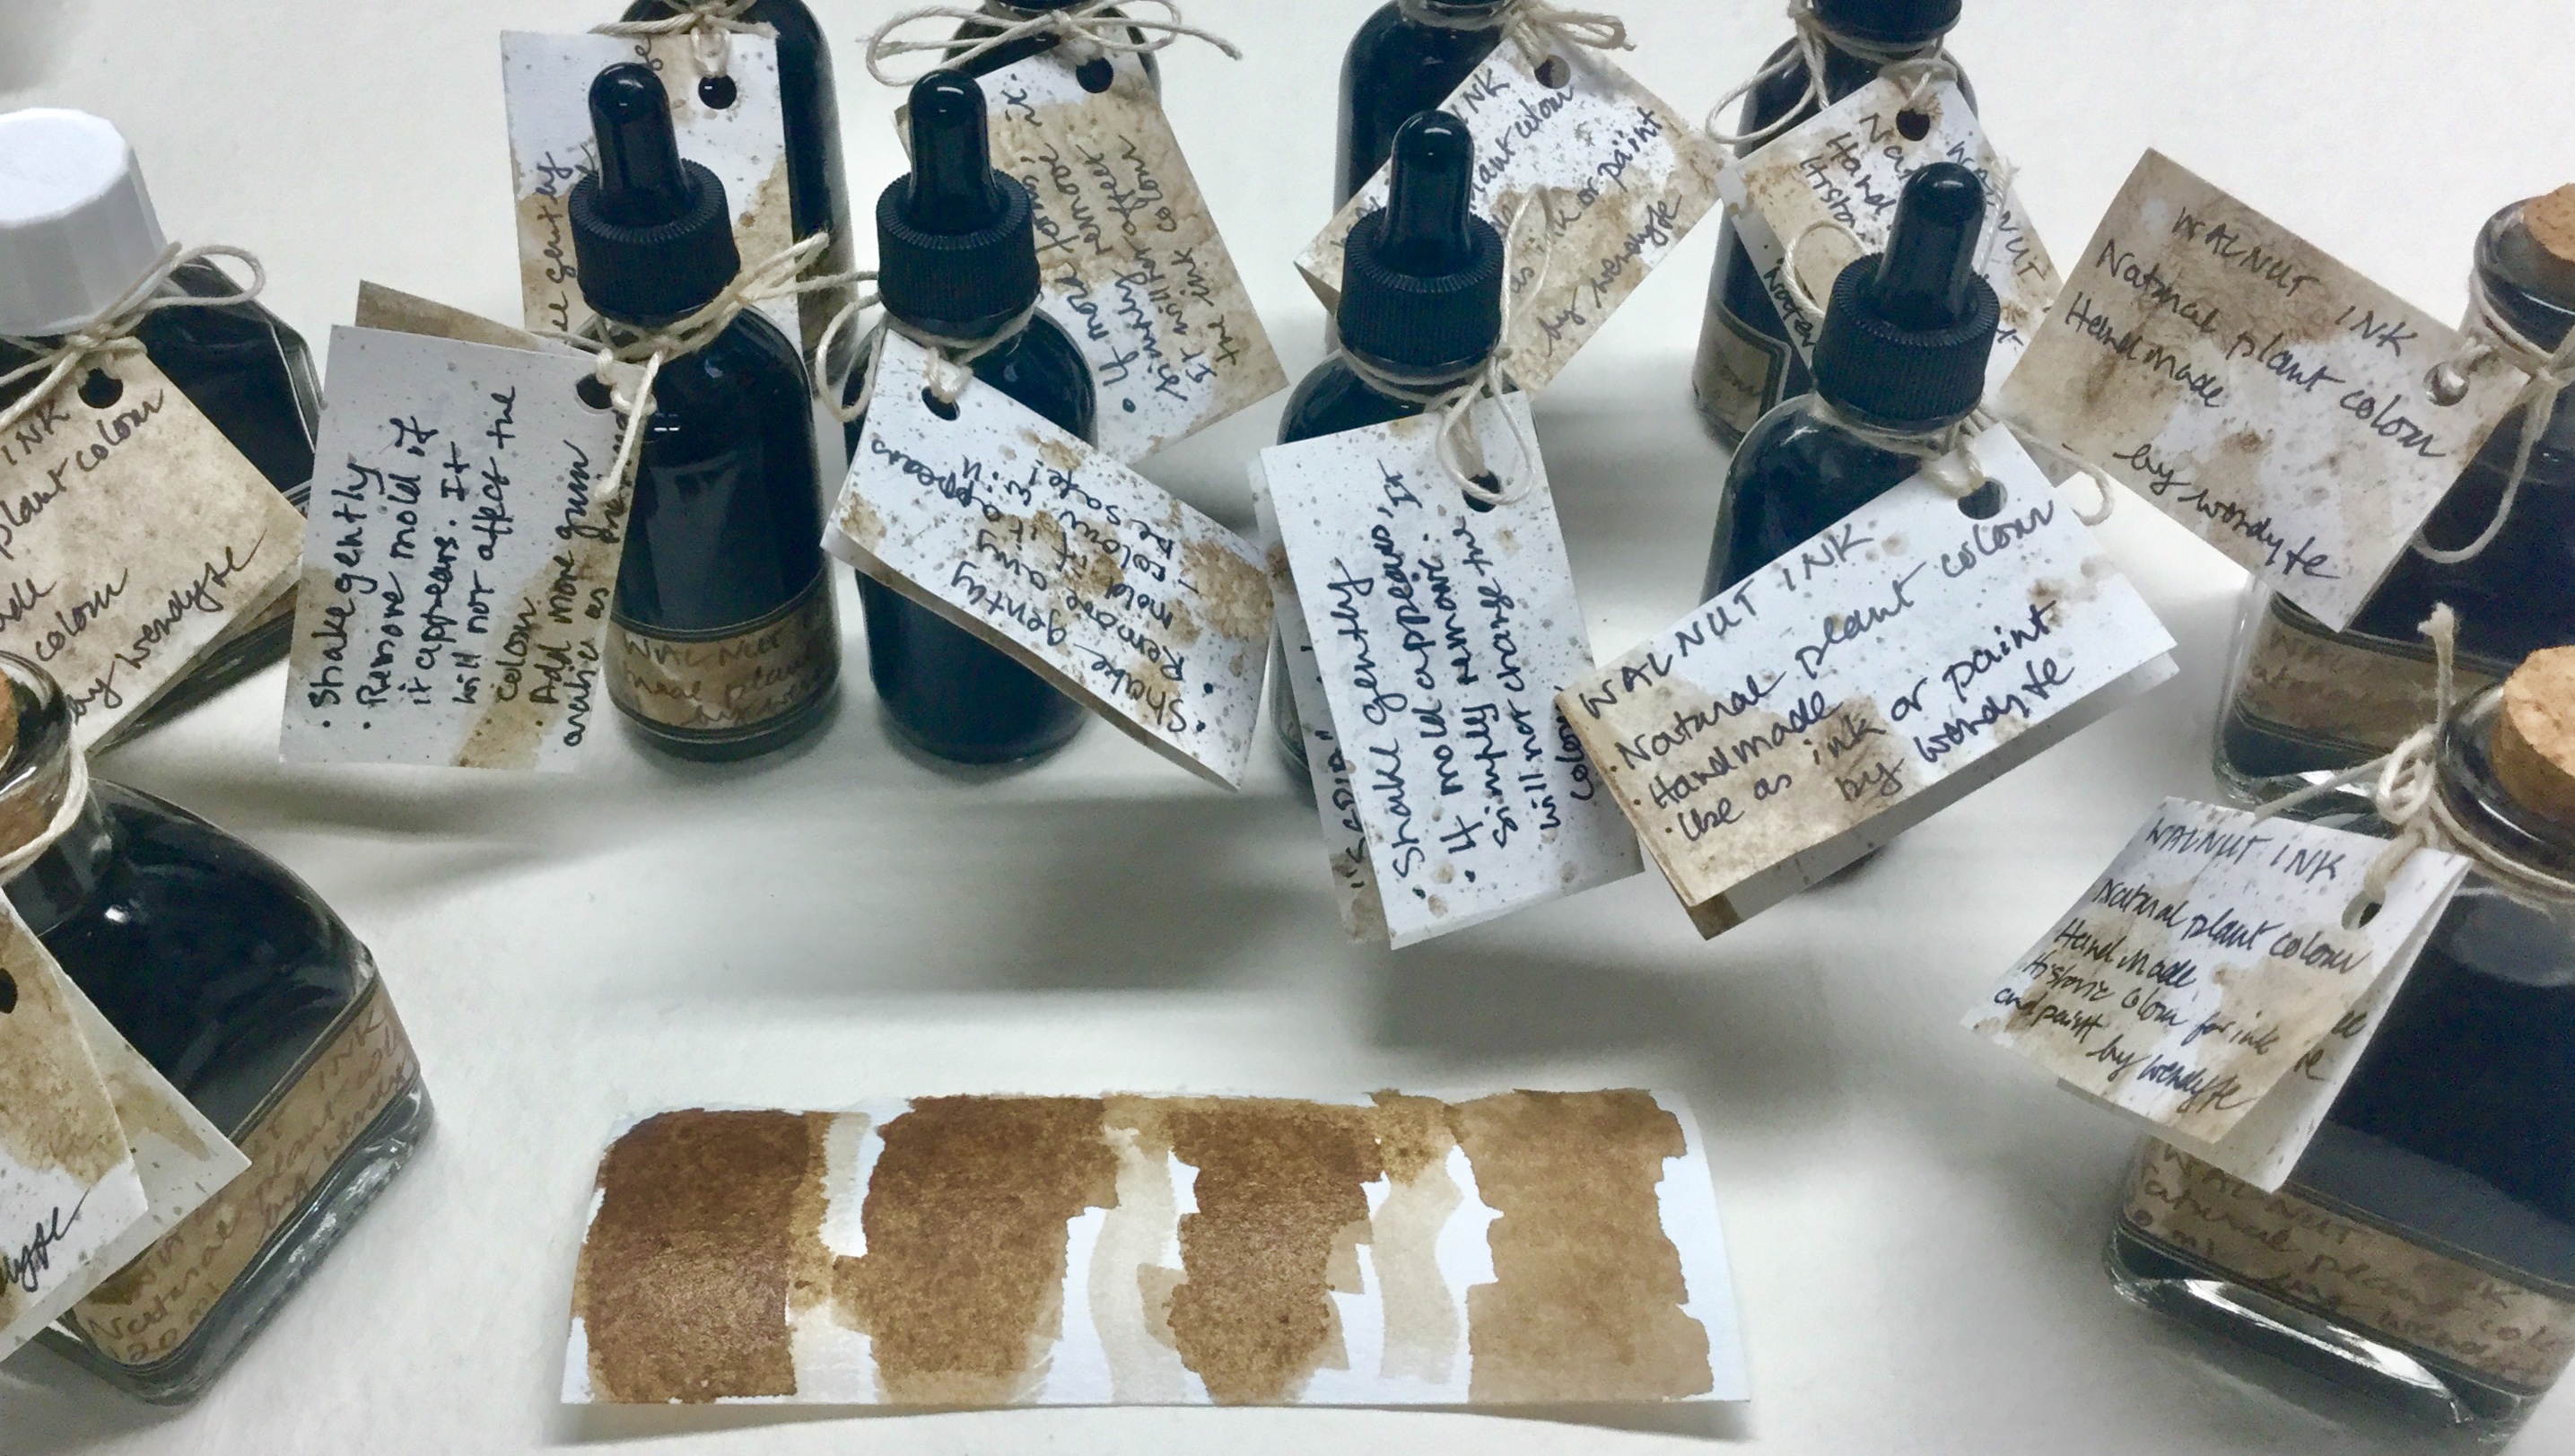
A few posts back, I shared with readers my stack of current books. One of them is by Jason Logan and is about making ink from plants he forages in the city, notably Toronto, NYC and Brooklyn. I find his book a truly charming intro to the world of foraging plants for pigments, well researched, beautifully written, and most of all, recipe-rich with luscious photographs of very arty ink marks. You know I love it! And he has great entries on his Instagram, too. ( Jason Logan’s book : Make Ink: A Forager’s Guide to Natural Inkmaking)

In the past, I have posted here about making paint and/or ink with blue iris and walnut; more recently, coreopsis was the subject. This time, I am reporting on buckthorn berries, a traditional source of green dye and paint. Artists of the Renaissance and later used buckthorn berries as a source of “sap green” as well as for various yellows or yellow-greens. The colours obtained depended on berry ripeness, plant variety and methods used for the colour extraction – all fascinating topics widely written up. (If these interest you, check out some of the references this blog, works by Dominique Cardon and Jenny Dean being great resources. You might also check a most informative blog on making artist paints: http://www.sunsikell.wordpress.com. Each of these provides trustworthy info on the pigment properties of and colour extraction methods for various varieties of buckthorn)

The buckthorn familiar to me in the Ottawa area is Rhamnus cathartica, and it is not an MVP in the plant world hereabouts! In fact, an Ottawa buckthorn SWAT team of vigilantes meets regularly to search and destroy this invasive non-native. But in spite of my preference for working with native plants, I am pretty excited and not too politically correct to find some pleasant use for the berries of the otherwise-despised buckthorn.

In fact, I found a whole hedge of the buckthorn bushes laden with juicy blue-black berries in late September ( the birds eat the berries only when nothing better is available, I have learned. ) So I helped myself to about two cupfuls with the intention of making ink and/or paint, having been inspired and instructed by Jason’s book.

First task was to extract the colour from the berries. Now I have to admit that at this point, I did not follow the instructions in Jason’s book. His practice is to just squash the fresh berries and use the juice uncooked. I decided to go with traditional dye extraction practice for this first attempt; this involved crushing the berries, covering them with water, cooking them at a simmer in the slow cooker until the water took on a dark purple-blue colour and then straining them in a jellymaking bag:

Notice how the jelly bag begins to turn green, even when purple juice has not done draining into the pot! ( Probably because of the soap residue in the jelly bag)

Now the fun begins. Indeed, to obtain green is the first colour goal, so a portion of the purple liquid is poured into a glass jar ( about a cupful) and a scant teaspoon of alum acetate is added. A good stir and a shake – et voila! Green! But not as a result of adding lye crystals, as Jason uses: first, because I had no lye on hand and anyway, older recipes often recommended alum ( though potassium aluminum sulphate). Thus, first pic shows the basic purple juice extraction, then the green with the alum added:

Then some trials on paper with these two colours ( FYI: the first pic shows how the purple stains changed colour in the empty cooking pot when I rinsed it with plain tap water – triggering a pH change and thus a colour move from blue to green) . The papers were painted with the purple and the green pigments.

With the addition of other modifiers besides alum, other colours besides greens developed. Ammonia gave brownish-yellow, soda ash gave yellows, lemon juice and white vinegar gave pink, without alum. Here are some of the samples:

To help preserve the natural paints/inks from developing molds, a number of agents can be tried. I used whole cloves ( Jason’s recommendation) in some containers and tea tree oil ( a well known anti-fungal) in others. But any mold that might develop can simply be removed and discarded. Depends how you feel about the mold.

Next time, I plan to report on the performance of additives like gum arabic that Jason recommends for ease of ink/paint flow for markmaking.

Meantime, I have buckthorn berries fermenting ( see Cardon for info on this) and plan to use those berries fresh, not cooked, to see how the colours develop in comparison to the colours obtained from the cooked ones. BTW, after cooking, you can put the mashed berry residue back into the pot, cover with water and cook again for a second extraction. And you can freeze the berries, too.

PS on ART FOR AID

For folks who have been following my art kit project to benefit Art For Aid: the good news is that a shipment of mylar blankets has left for the north, eagerly awaited by First Nations families as winter sets in. My art kits have started to arrive – one donor in NSW, Australia has even received hers BEFORE the kit mailed on the same day last week to Victoria, British Columbia! Generous folks have even donated over and above what I was able to supply in kits to match donation, though I was able to send them a just one wee kit. These little ones were in small stash I had set aside in case of SNAFUs….And no-one at all has asked for a refund, even if they were they unable to get a kit in a size that matched their donation when the supply ran out

I am extremely gratified and touched to find myself in the company of people like all these donors. Some compassionate and generous people even offered to make an extra donation as compensation for those who might have asked for a refund. I have experienced in this project the hope created by people who light candles instead of cursing the darkness.

A la prochaine, dear reader

Wendy